
If you are looking for a very simple valentine for someone special or even a gift card holder, this is one simple craft that you can do. The best part is that it is very quick to assemble and doesn’t require waiting for glue to dry so you can gift it immediately.
Materials:
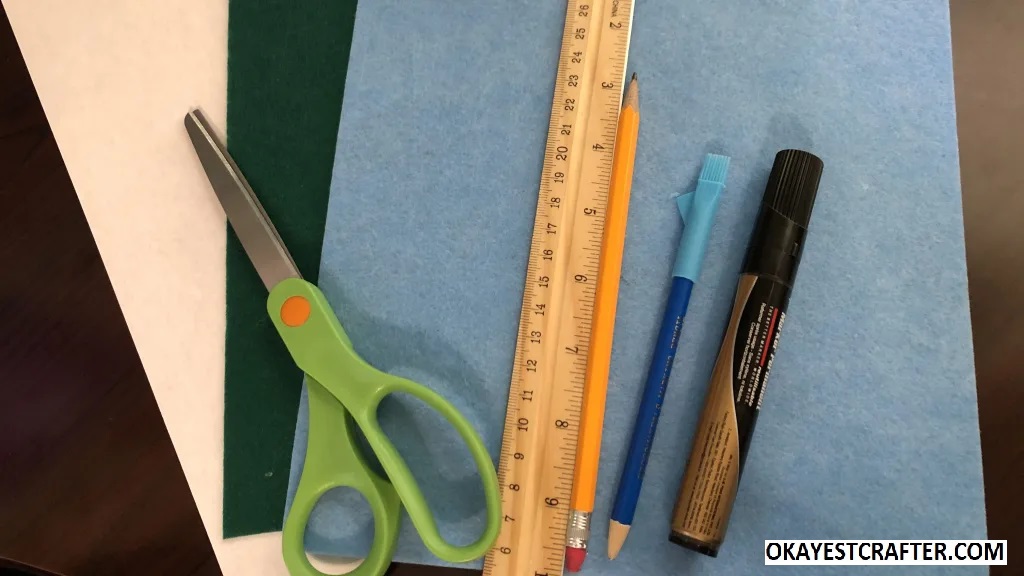
- Two Colors of felt
- Paper
- Pencil or pen
- Permanent marker or fabric marking pencil/pen
- Scissors
- Ruler
Step 1:
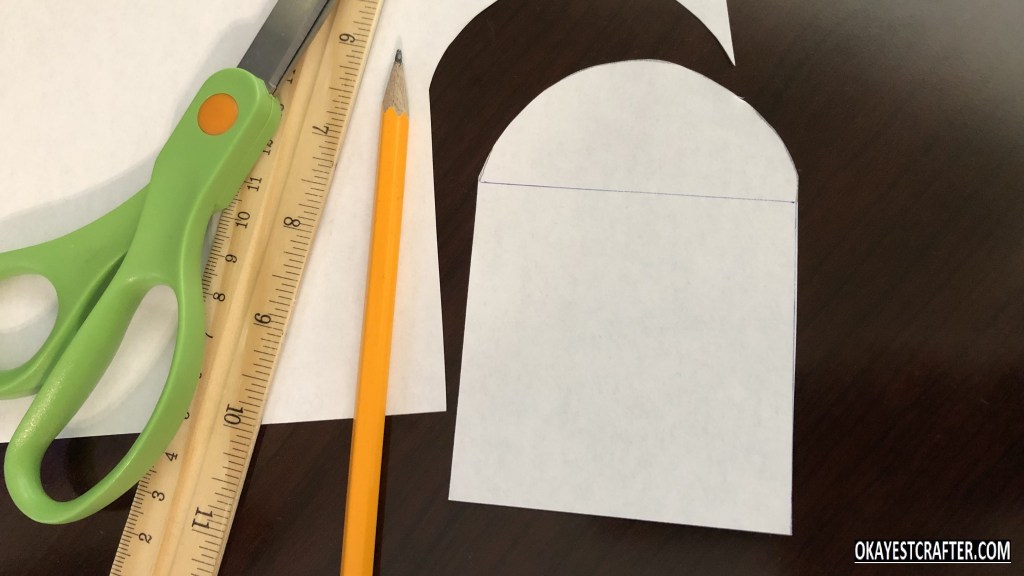
You can fold the piece of paper in half so you can visualize how this works, but since the paper is just a template, you skip the folding for this part. Using the ruler, measure and draw a square. I made my square 3 inches x 3 inches but you can make your square any size depending on how large your felt piece is and how large you want your heart pocket. At the top of the square, draw a semicircle. Cut out the entire drawing in one piece.
Step 2:
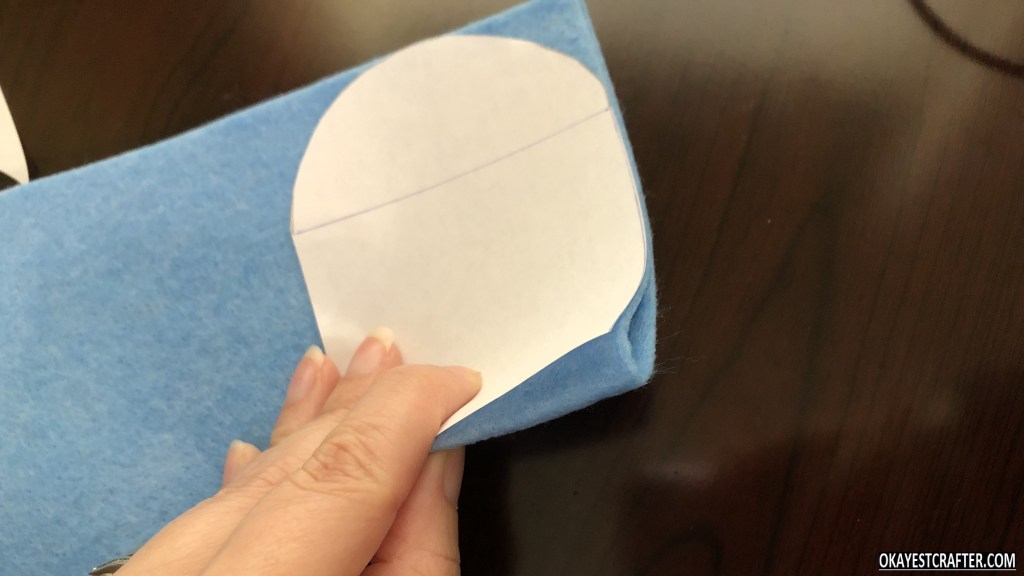
Fold one color of felt in half. Make sure to fold it and be aware of where the crease is. This is critical or it will not work. Place the bottom of the square on the crease and trace the shape with the marker or fabric pencil.
Step 3:
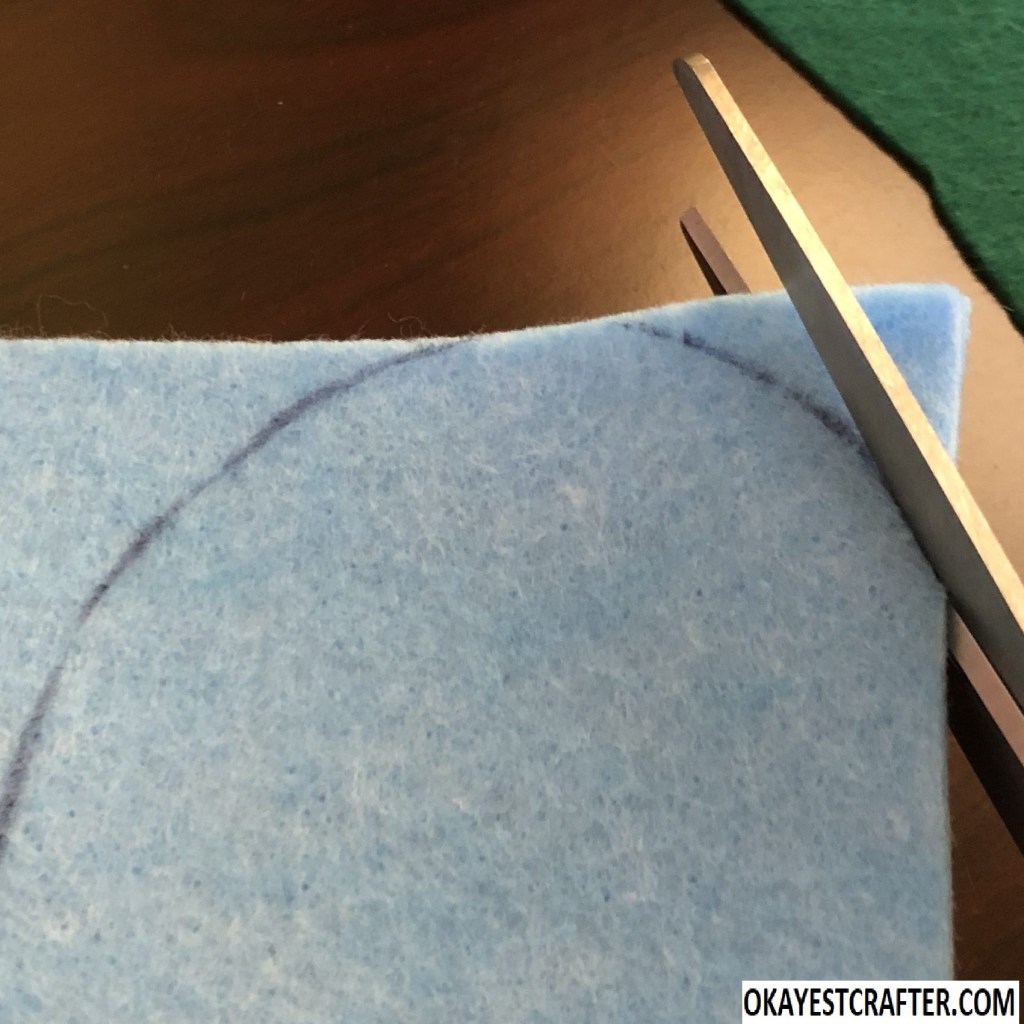
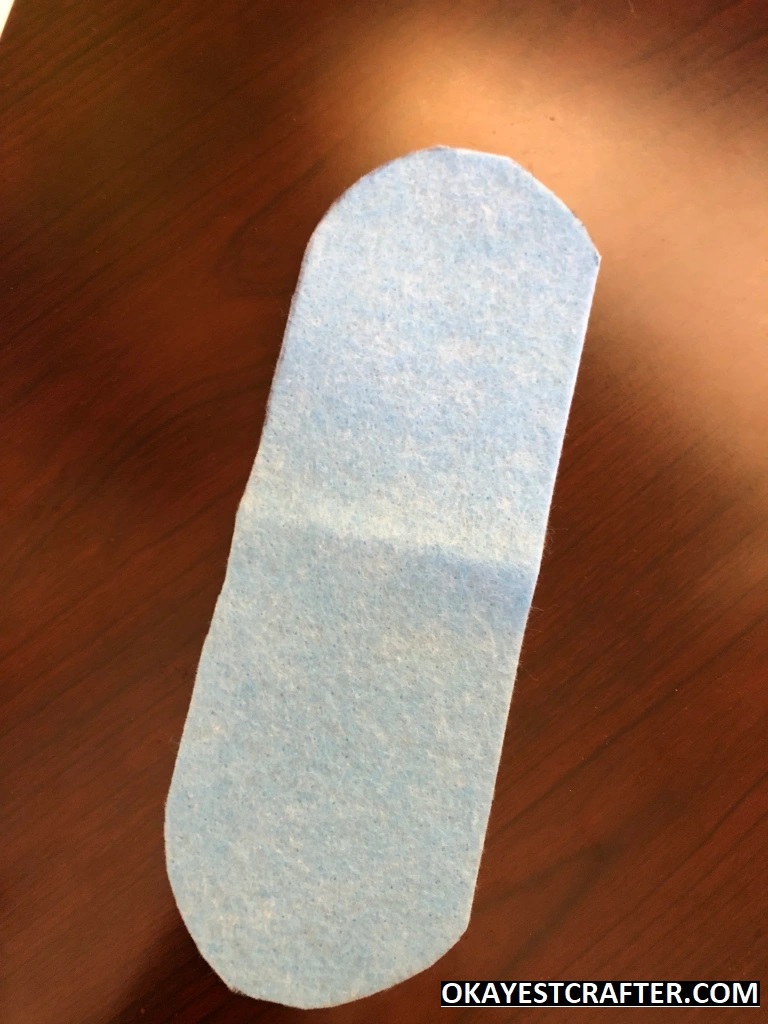
While keeping the felt folded, cut out the entire shape with your scissors but make sure not to cut the crease. Once it is cut out, you can open it and you will see one large rectangle with a semi circle on each end.
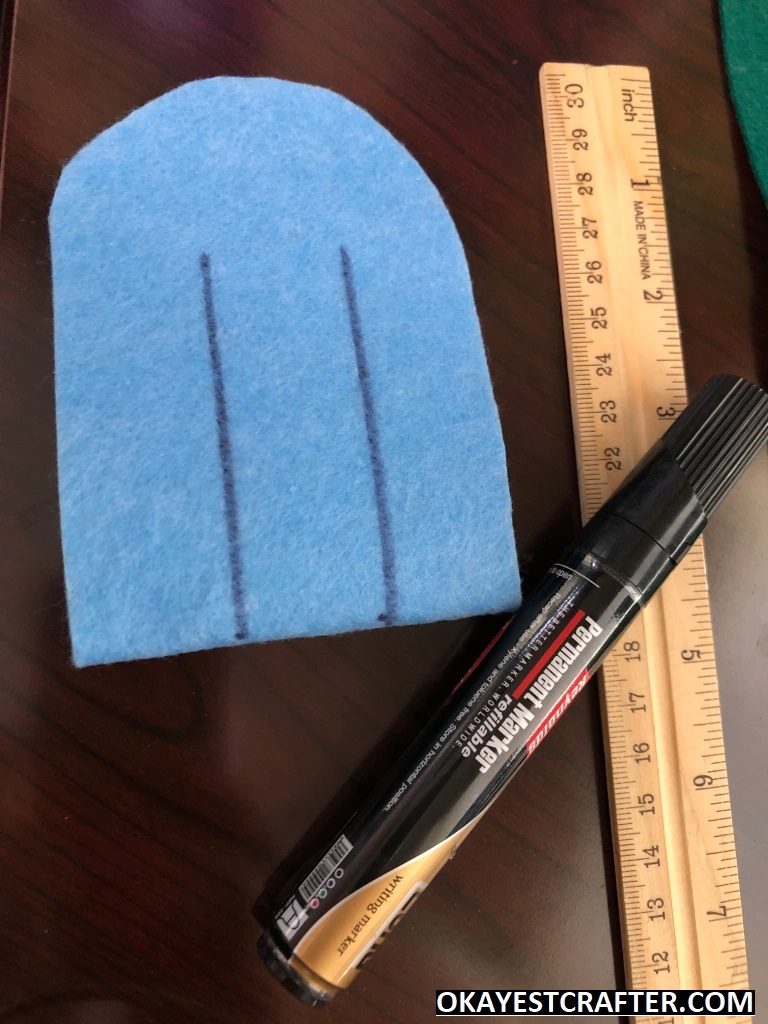
Step 4:
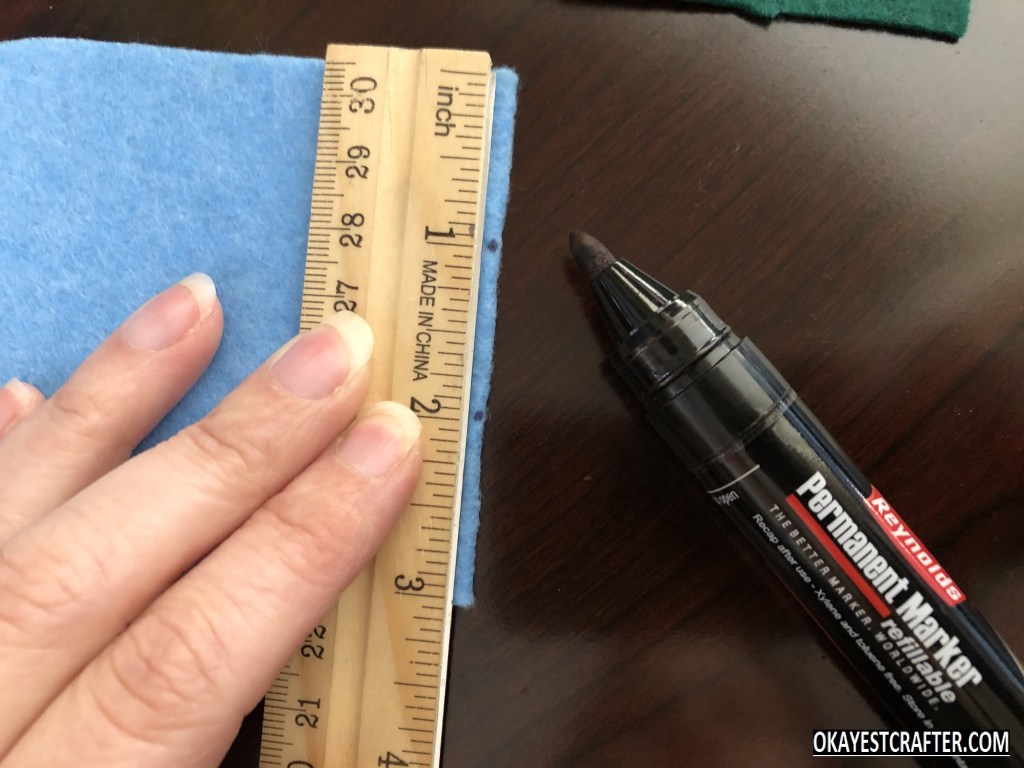
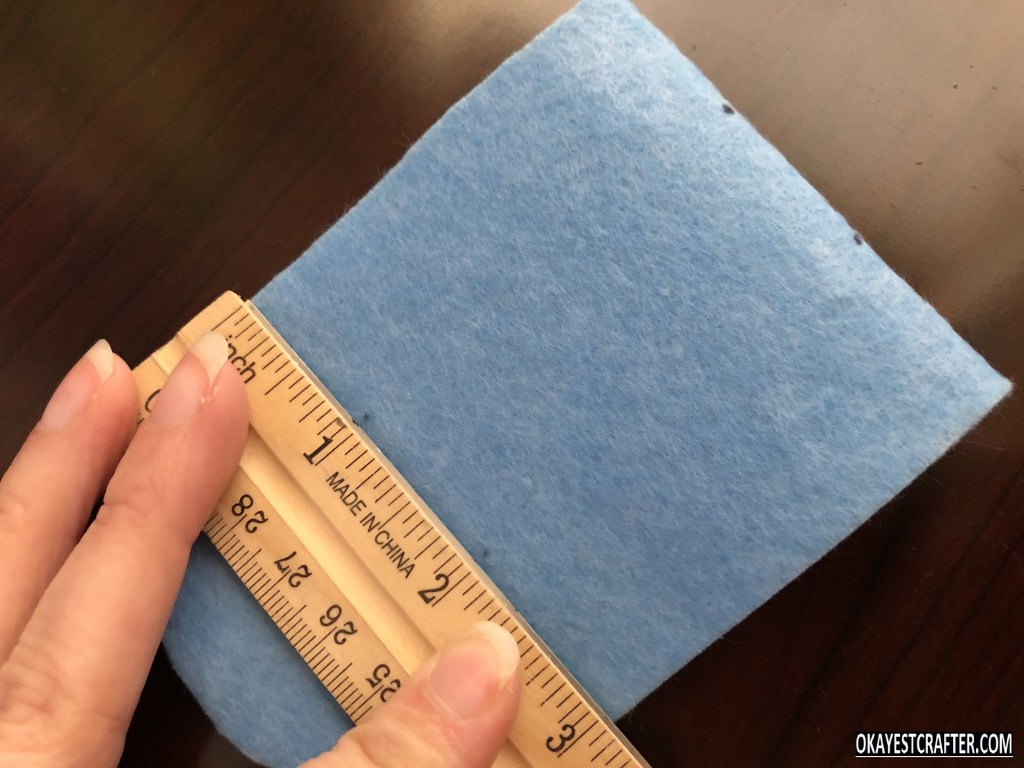
Fold it again at the crease and measure the crease side of the square. Divide the measurement into 3 equal portions. Since I used a 3 inch square, I will make marks at 1 and 2 inches. Find the top of the square and measure across and make the same marks. Draw lines from the marks at the crease to the top marks
Step 5:
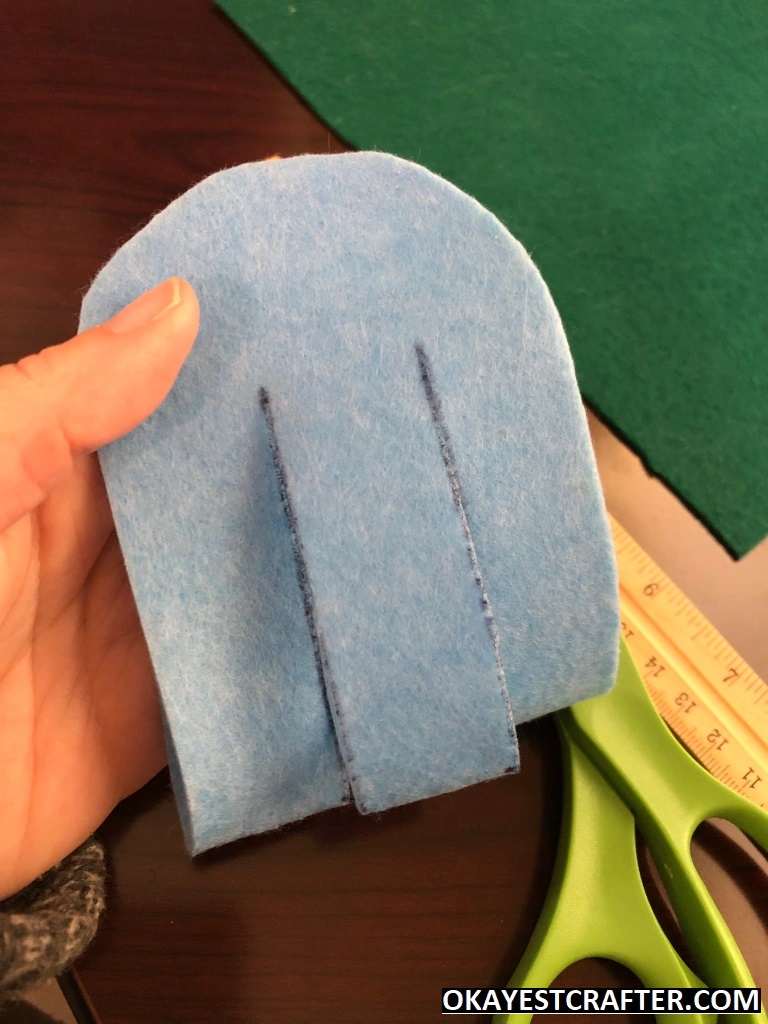
Cut the lines you drew from the crease going up toward the semicircle. Make sure to stop at the top of the square and do not cut into the semi circle. You should end up with 3 equal cut sections but the crease section will still need to be intact.
Step 6:
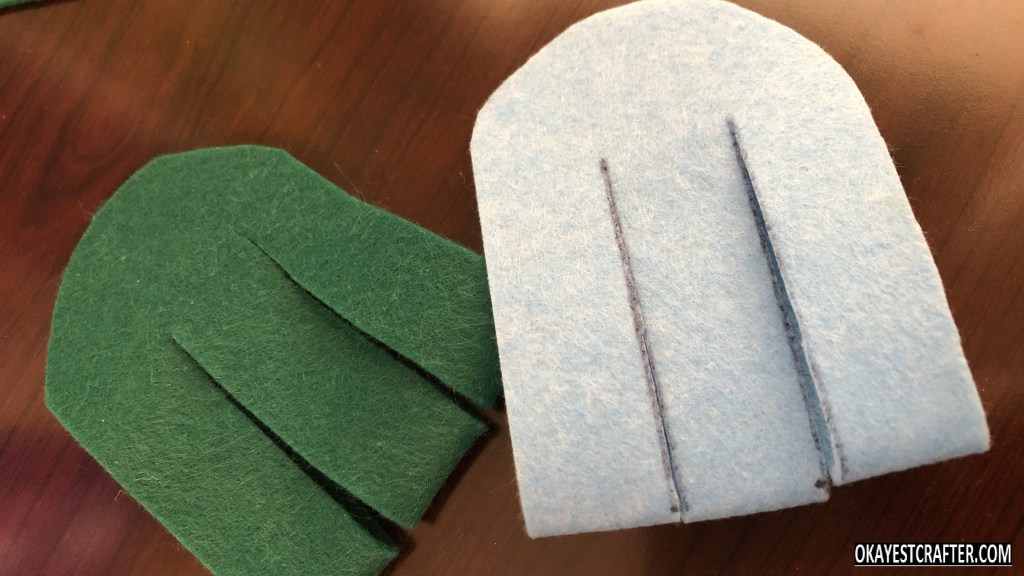
Repeat steps 2-5 with a second color.
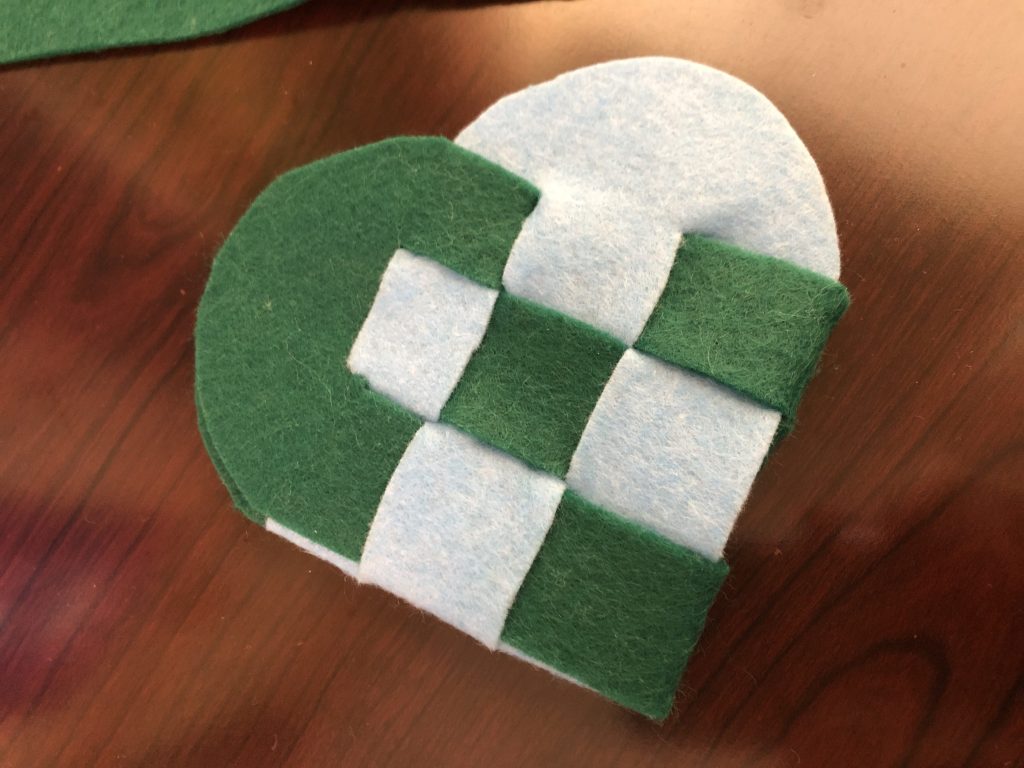
Step 7:

Turn the pieces inside out so the marker marks will be on the inside. Lay the pieces at a 90 degree angle on top of each other so they look like a heart.
Step 8:
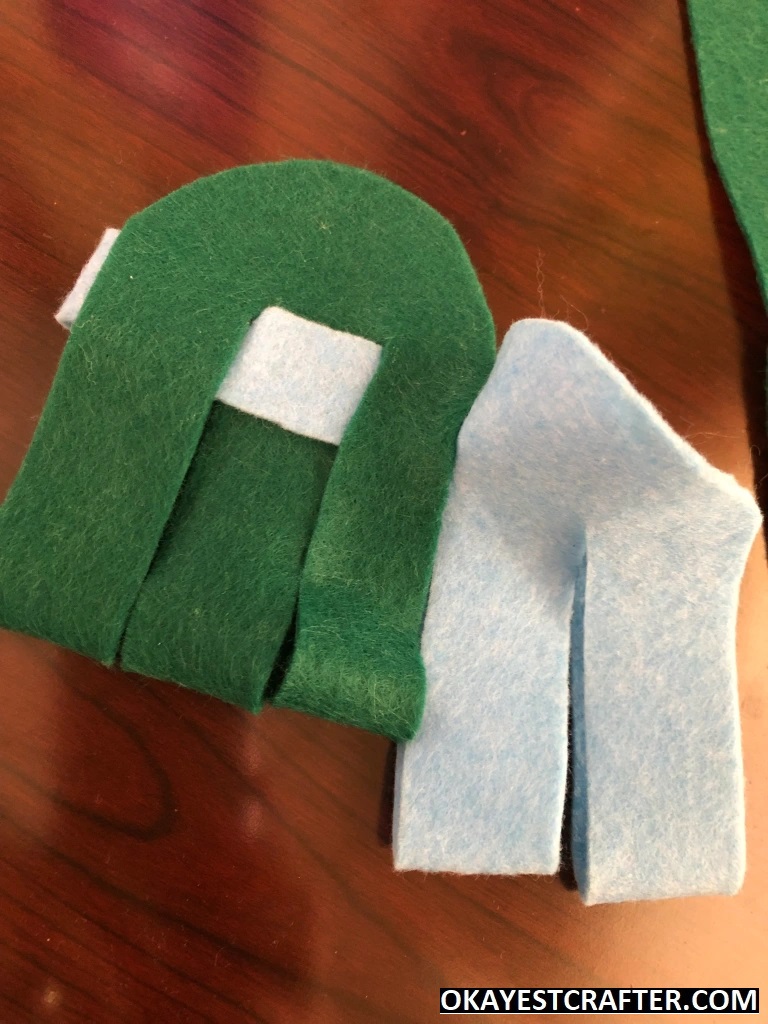
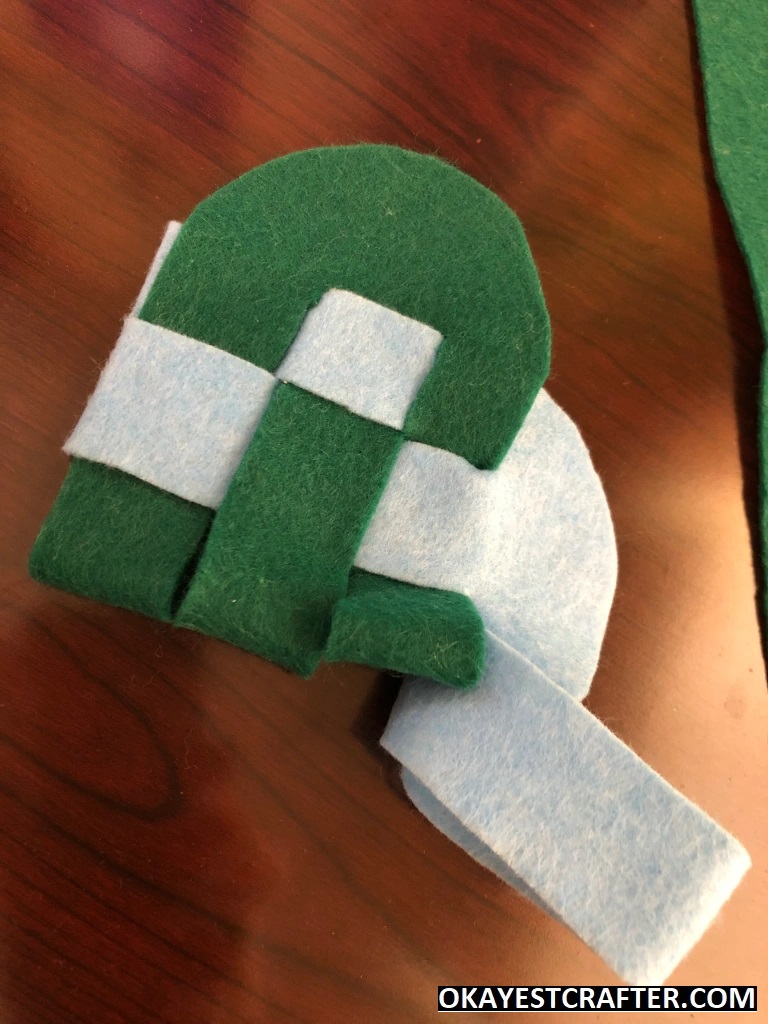
Starting with one strip at a time, weave the pieces in and out, alternating the pattern for each strip, until all three are done.
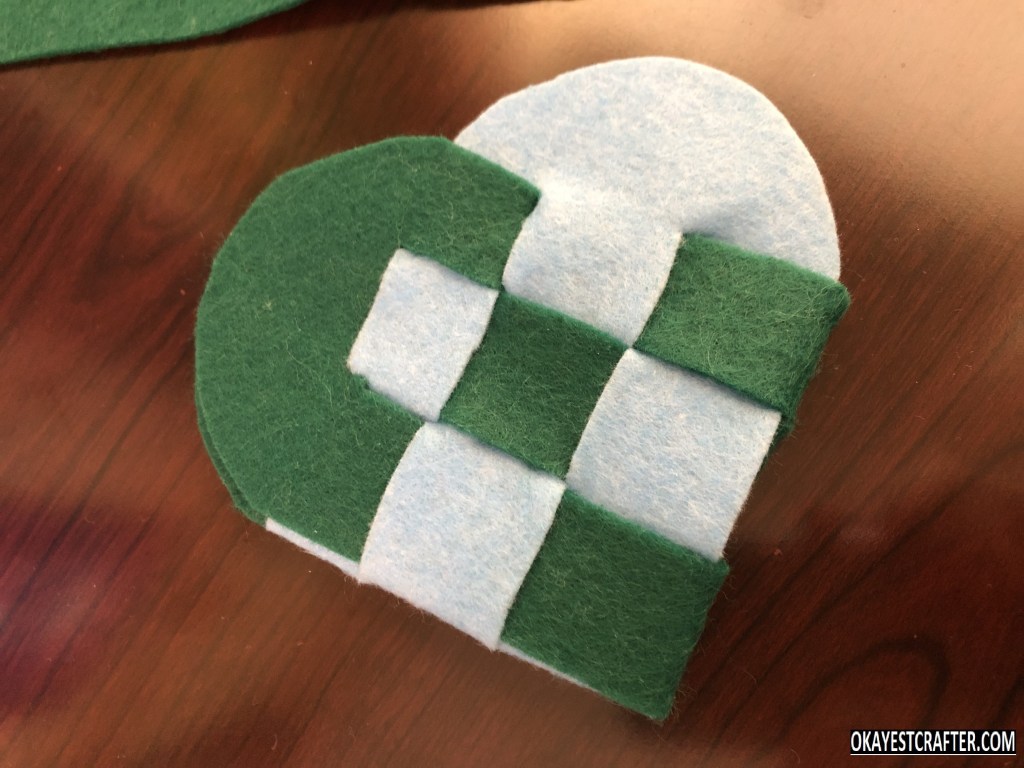
This simple craft would make great teachers gifts, valentines for the entire class, or something sweet to gift for that someone special in your life. You could also add a button closure, try them in different sizes, or add a string for an ornament. What will you use it for?
Don’t forget to subscribe to my newsletter, YouTube channel and follow me on social media for a lot more crafty ideas!
