Have you ever noticed really cool crafty dragon ideas that you yearned to try out? Have you ever wanted to make art with a dinosaur or dragon theme and needed a way to make it a bit more 3-D? Well, rest assured that this craft is very simple and fun to try out, and in the end, it looks super cool.
Making a dragon eye is a very simple craft that looks like it would be very tedious. There are so many cool things that you can do with it! Check out the steps below to make one…or two…or three…of your own!
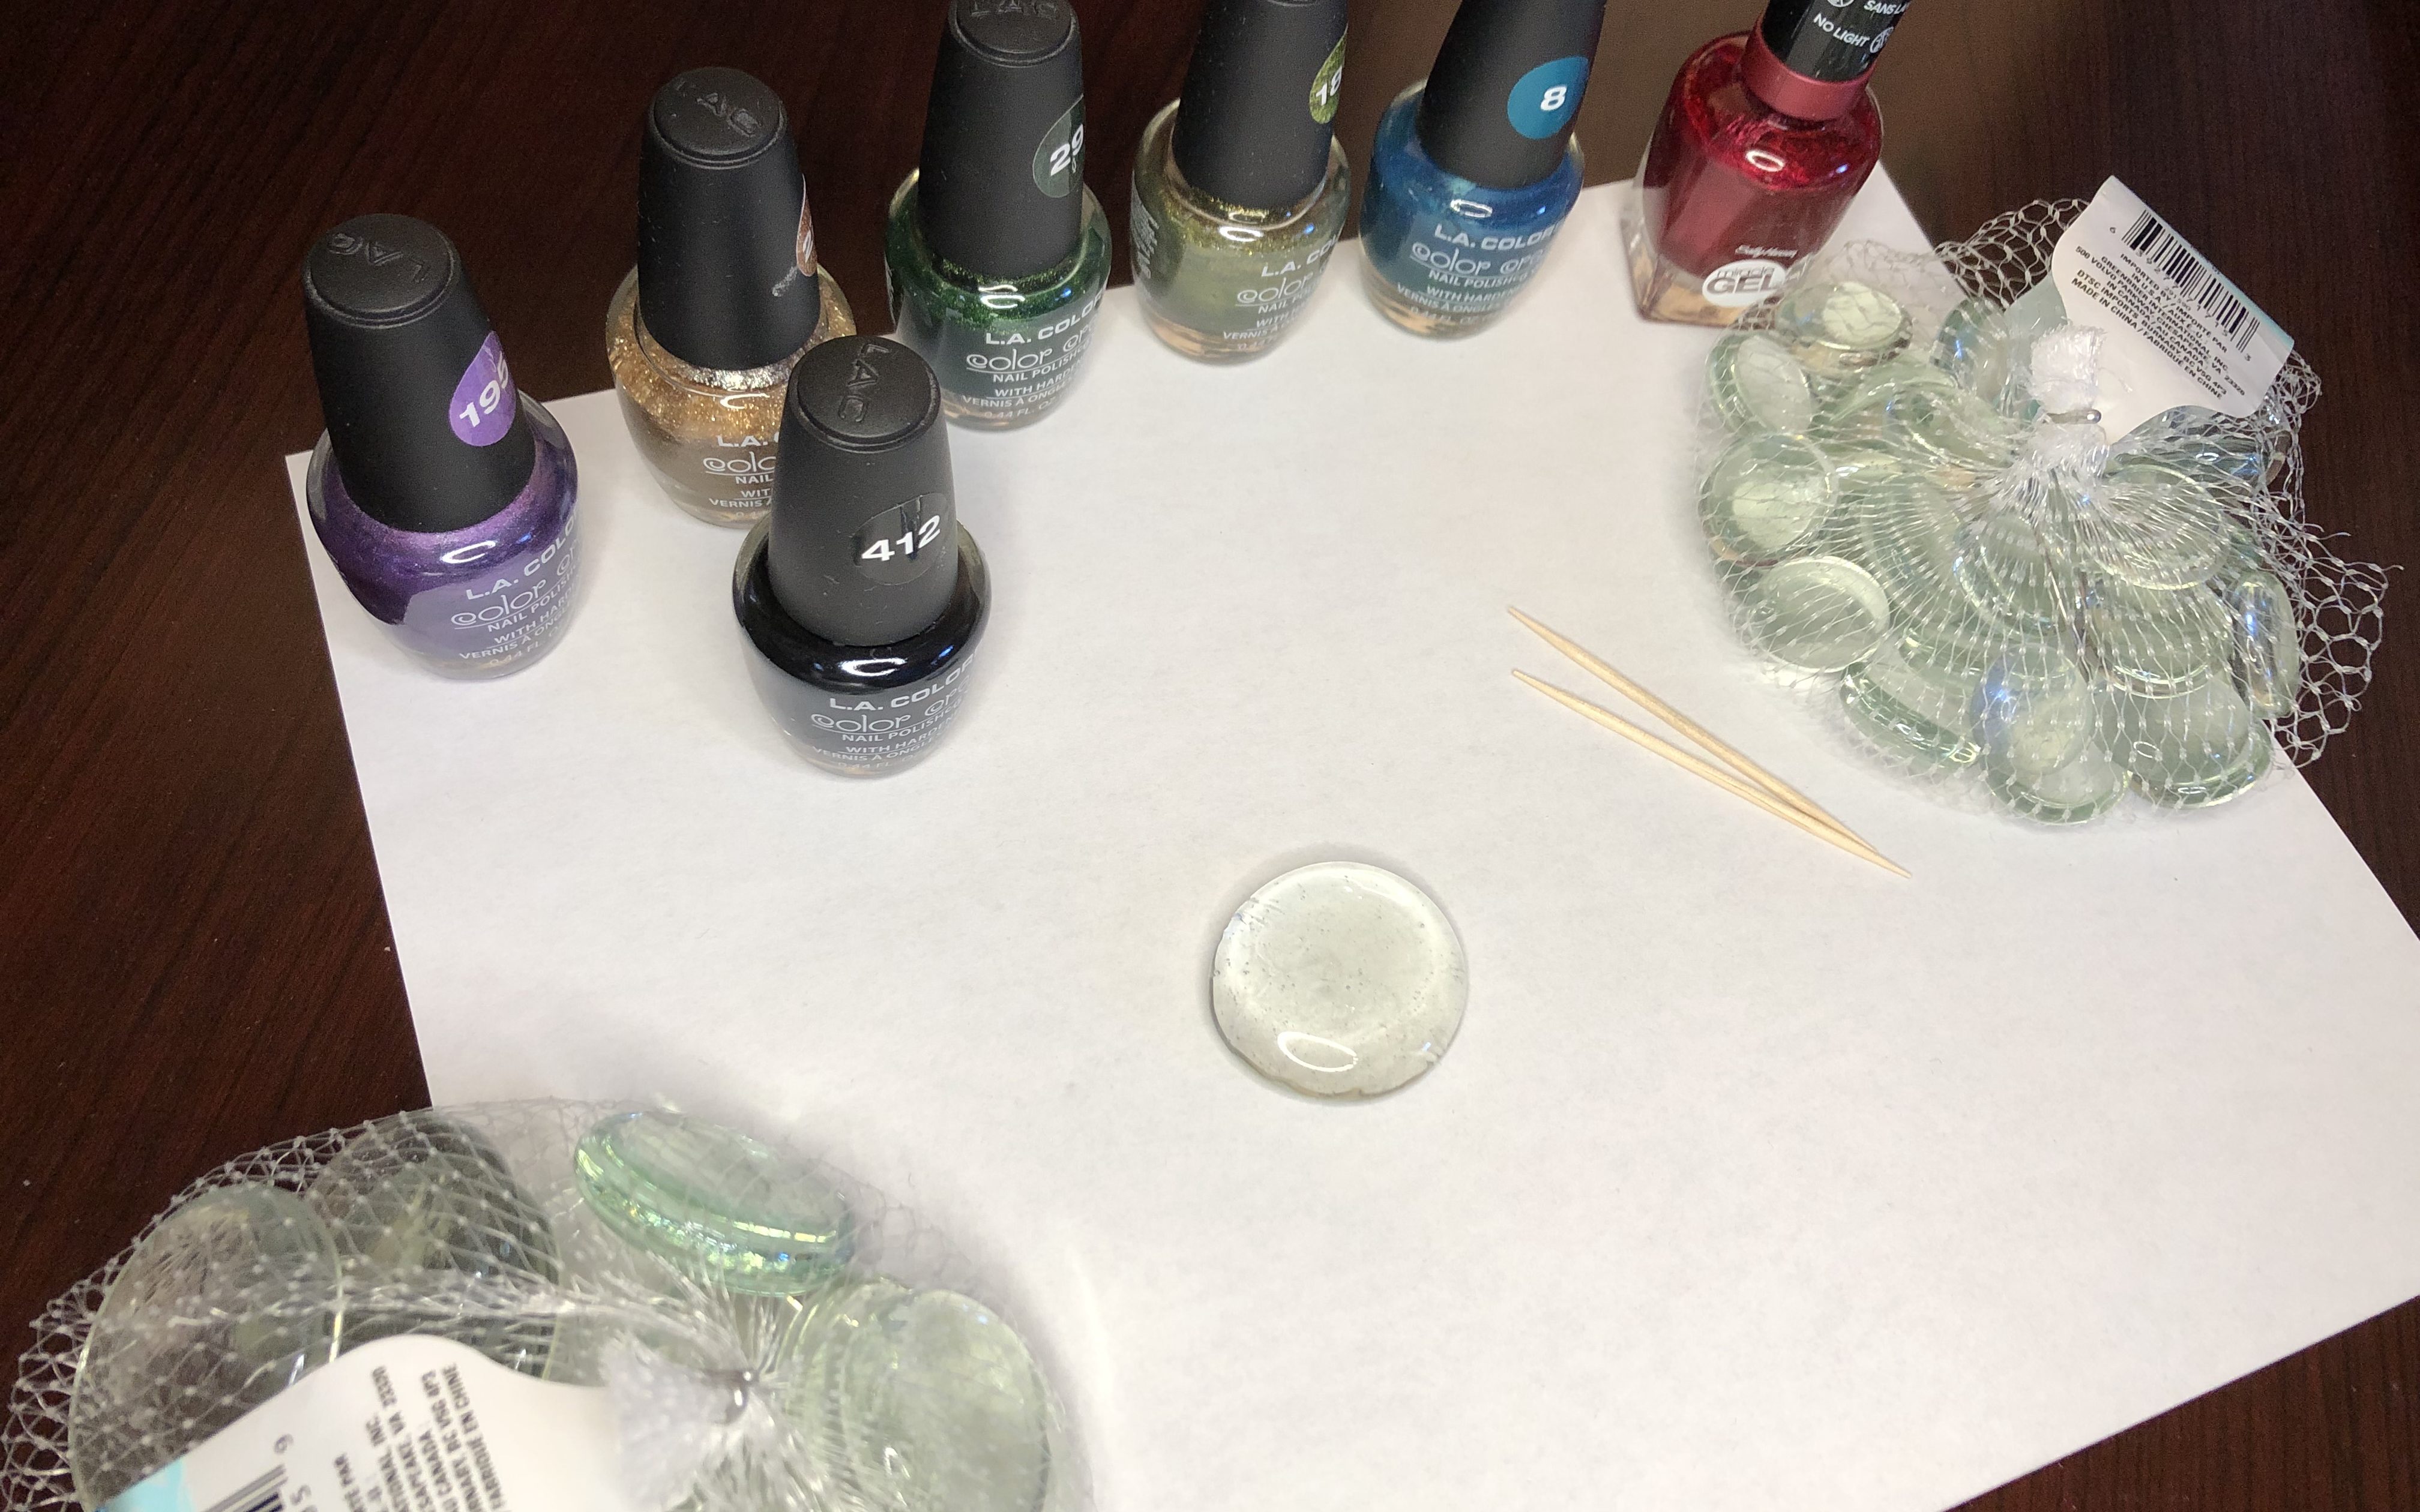
Here are the supplies you will need for this project:
Glass cabochon
Black nail polish
2 complementing colors of nail polish
Toothpicks
Hot glue and magnet (optional)
STEP 1:
Make sure you are in a well-ventilated area or a place where you can easily open a window. The nail polish smell will get strong. Turn the cabochon to have the flat side up.

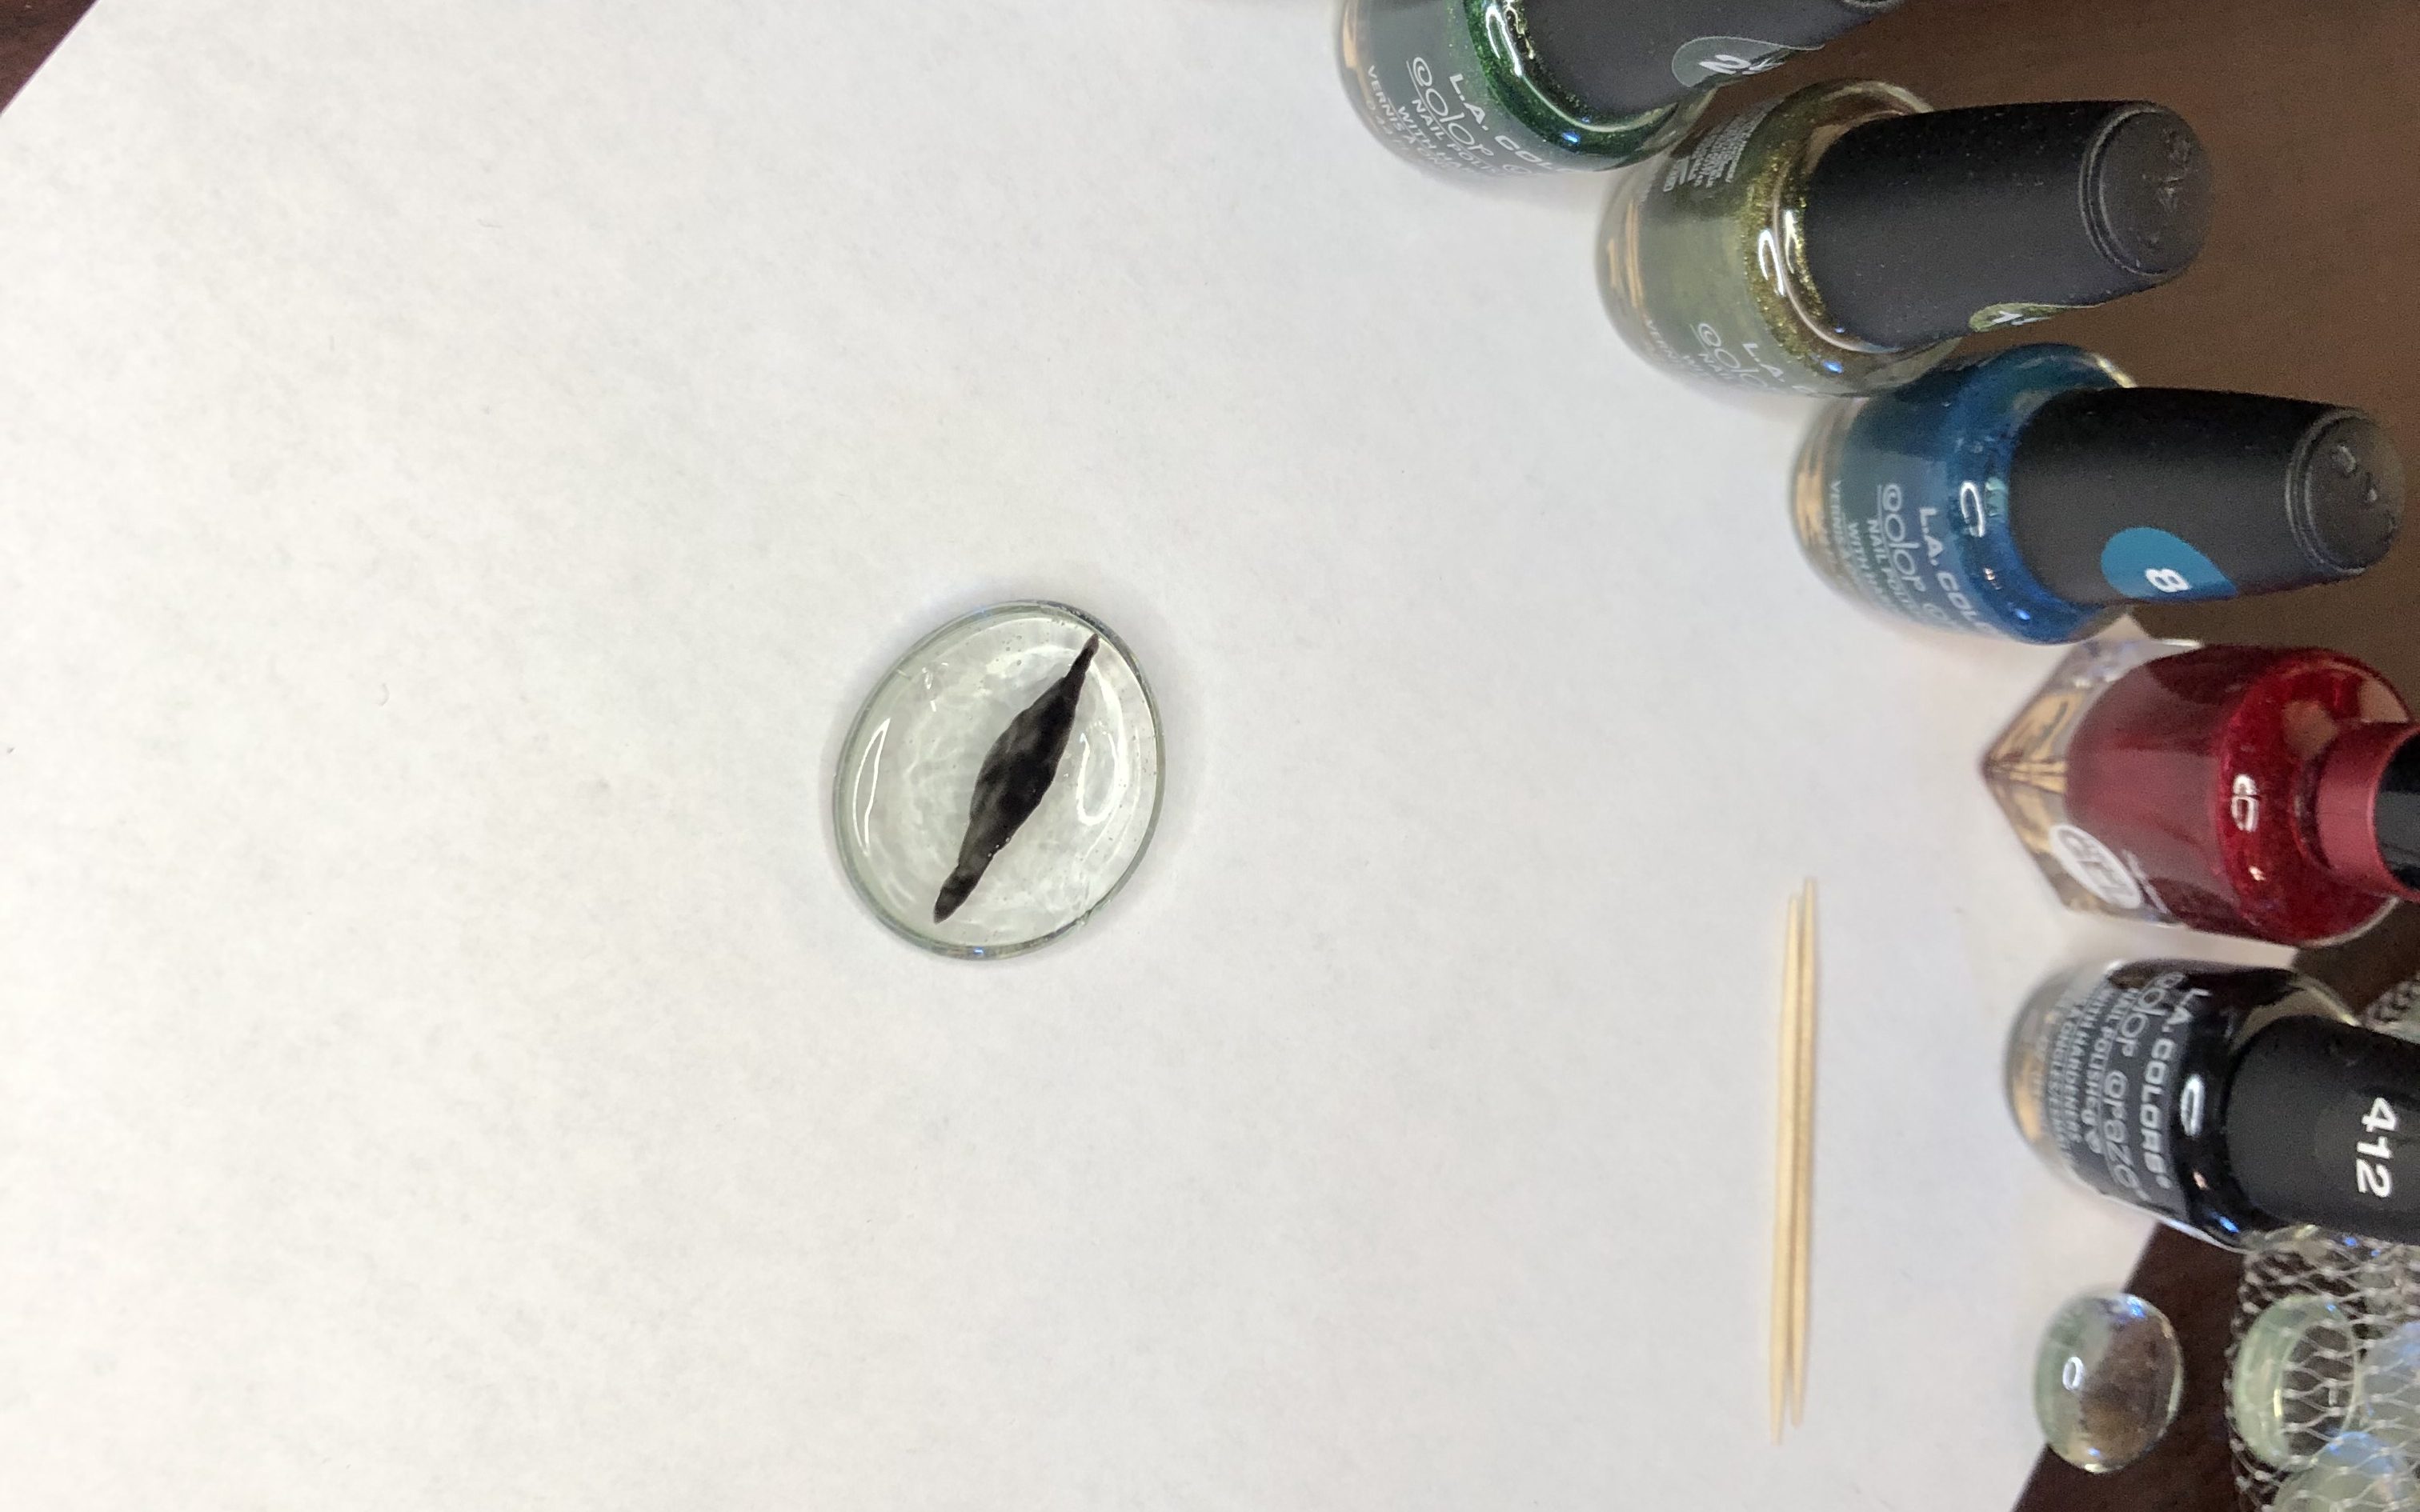
STEP 2:
Take black nail polish and paint a thick line down the middle (or a small circle depending on the type of eye you wish to create). Leaving the top and bottom thinner, paint slightly thicker in the middle. Make it a little thicker than you want to. Once you have painted your pupil the way you want it, let it dry completely. (It is very VERY important to let it dry completely in between layers in order for the next steps to work correctly.)
STEP 3:
Take the lighter color you want for your eye and paint over the edges of the black and about 2 thirds of the eye. Using the toothpick, scratch the wet paint to leave openings and spread out the paint. When it looks pleasing to you, let it dry completely.
Using the tooth pick and scratch the edges from the center to the outside. Once you have it the way you like, let it dry.

STEP 4:
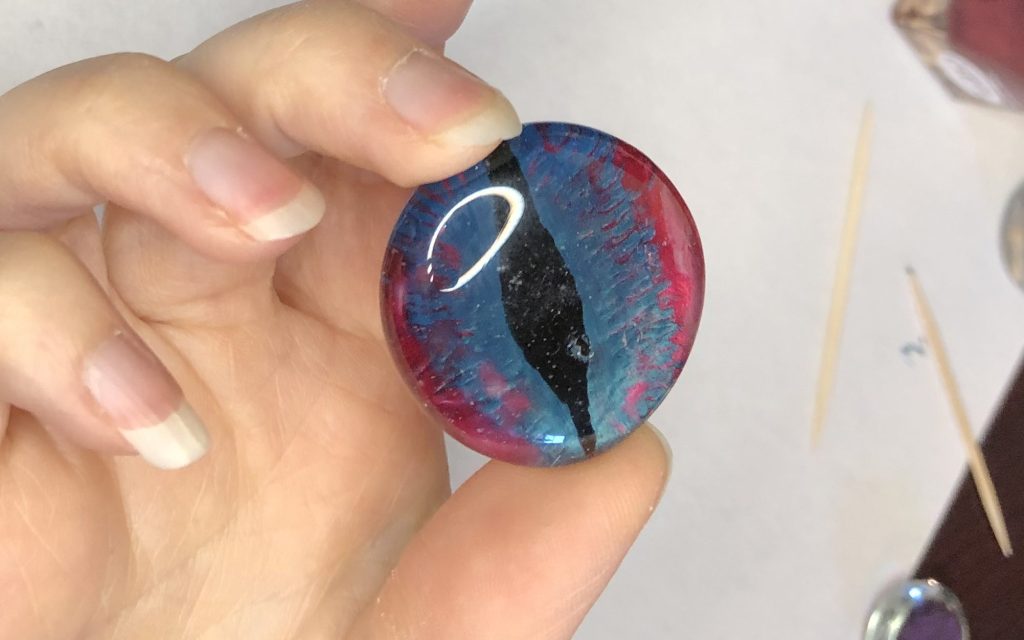
Take the second nail paint and paint over the previous color and all the way to the edge of the cabochon. If you decide to add a third color, scratch the edges of the second color when it is tacky and let it dry before applying the final color. Let it dry completely.

STEP 5:
Finally, and this is optional, but I like to do it to give it a sense of completeness, paint a coat of black over the entire back of the cabochon and let it dry. I feel this protects it with just an extra layer while also filling in any possible gaps that were missed with any of the other layers.

STEP 6:
Once it is dry, you can add a magnet with hot glue, or make it into a piece of artwork.

Hopefully, you found making this dragon eye very easy and a lot of fun. Try experimenting with different colors, styles, and methods. Also, check out some of my other tutorials to find other ideas that you can use your dragon eyes with.
